Showing posts with label teaching. Show all posts

9.15.2011

today's art class: different watercolor textures

My class and I had a lot of fun tonight experimenting with different ways to add texture to our watercolor washes. We practiced 3 different techniques: crayon resist, salt crystals and bleach. After experimenting, everyone chose a technique to fill a page and then we painted rockets on another paper. Next, we cut out the rockets and glued them onto the background. I was so impressed by how they turned out and all looked so different. Way to go class!

Bleach method:  dab a Q-tip in bleach and then make spots on a wet wash.

Salt method: sprinkle salt into a wet wash.

Crayon resist method: put something with texture under your paper and do a crayon rubbing, then paint a dark wash over the crayon.

7.12.2011

today's art class: basic watercolor skills & today's painting

I have been having a lot of fun with watercolor lately and so I was really excited when my students were able to come to class for 2 hours today instead of just for one hour.  This meant we had plenty of time to do a basic introduction to watercolor skills AND then do a few paintings together.  We spent the first hour talking about and practicing basic watercolor techniques like, washes, grated washes, wet on wet and "saving your whites".

After practicing, we painted a rhino together using just flat washes and grated washes.


Next, we painted our red bowl using washes, grated washes, and then adding wet on wet and saved some whites for the reflections.  I wish that I would have taken picture of their drawings, but I forgot, so you will just have to settle for mine.


6.28.2011

today's art class: still life and shading

Today, with my class we combined the skills we have been practicing like drawing what we see, blocking in basic shapes, and careful observation and took it to the next level to add shading.  We started with simple objects on the table, turned off the lights, and let the window provide some simple, beautiful one-directional light for us.   We spent about 10 min on each drawing, so not enough time to finish a massive amount of details, but enough time to really slow down and observe carefully.

We came up with drawings like these ones:  (vitamin C bottle, and a bowl of fruit)

6.25.2011

Art Lessons


Private Art Lessons
with Bridget Smith

Who can take classes?  Anyone ages 3-99

Are the lessons private or in class sessions?  Lessons can be taught on an individual basis or in groups. Group lessons will be at a discounted price.

Location:  Classes can be taught in your home or in Bridget Smith’s home studio in Provo. 

Some skills you can expect to develop are drawing, painting, sculpting, creative thinking and much more.


For additional information and prices,
please contact Bridget Smith:
bridgetlsmith@gmail.com


Above is the info that I have been spreading around on fliers.  I am teaching a few group sessions right now, one of which will be starting the first week of July, once a week, for the rest of the summer for 3-5 year olds.  Right now, I only have a few spots left.  The classes will be $10/week.  Please let me know as soon as possible if you would like to join.

6.20.2011

What is art?

Have you ever wondered how to put a definition to art?  Well, this video has some great insights into what some of the creatures in our world would say.  I think it is a hoot and worth the 7 min to sit and watch.

6.16.2011

today's art class: gesture drawings

I have started teaching private art classes for the summer and I am having so much fun.  (So, if any of you are interested in taking classes--any age welcome--or know anyone who would be interested send me an email!  BridgetLSmith@gmail.com)

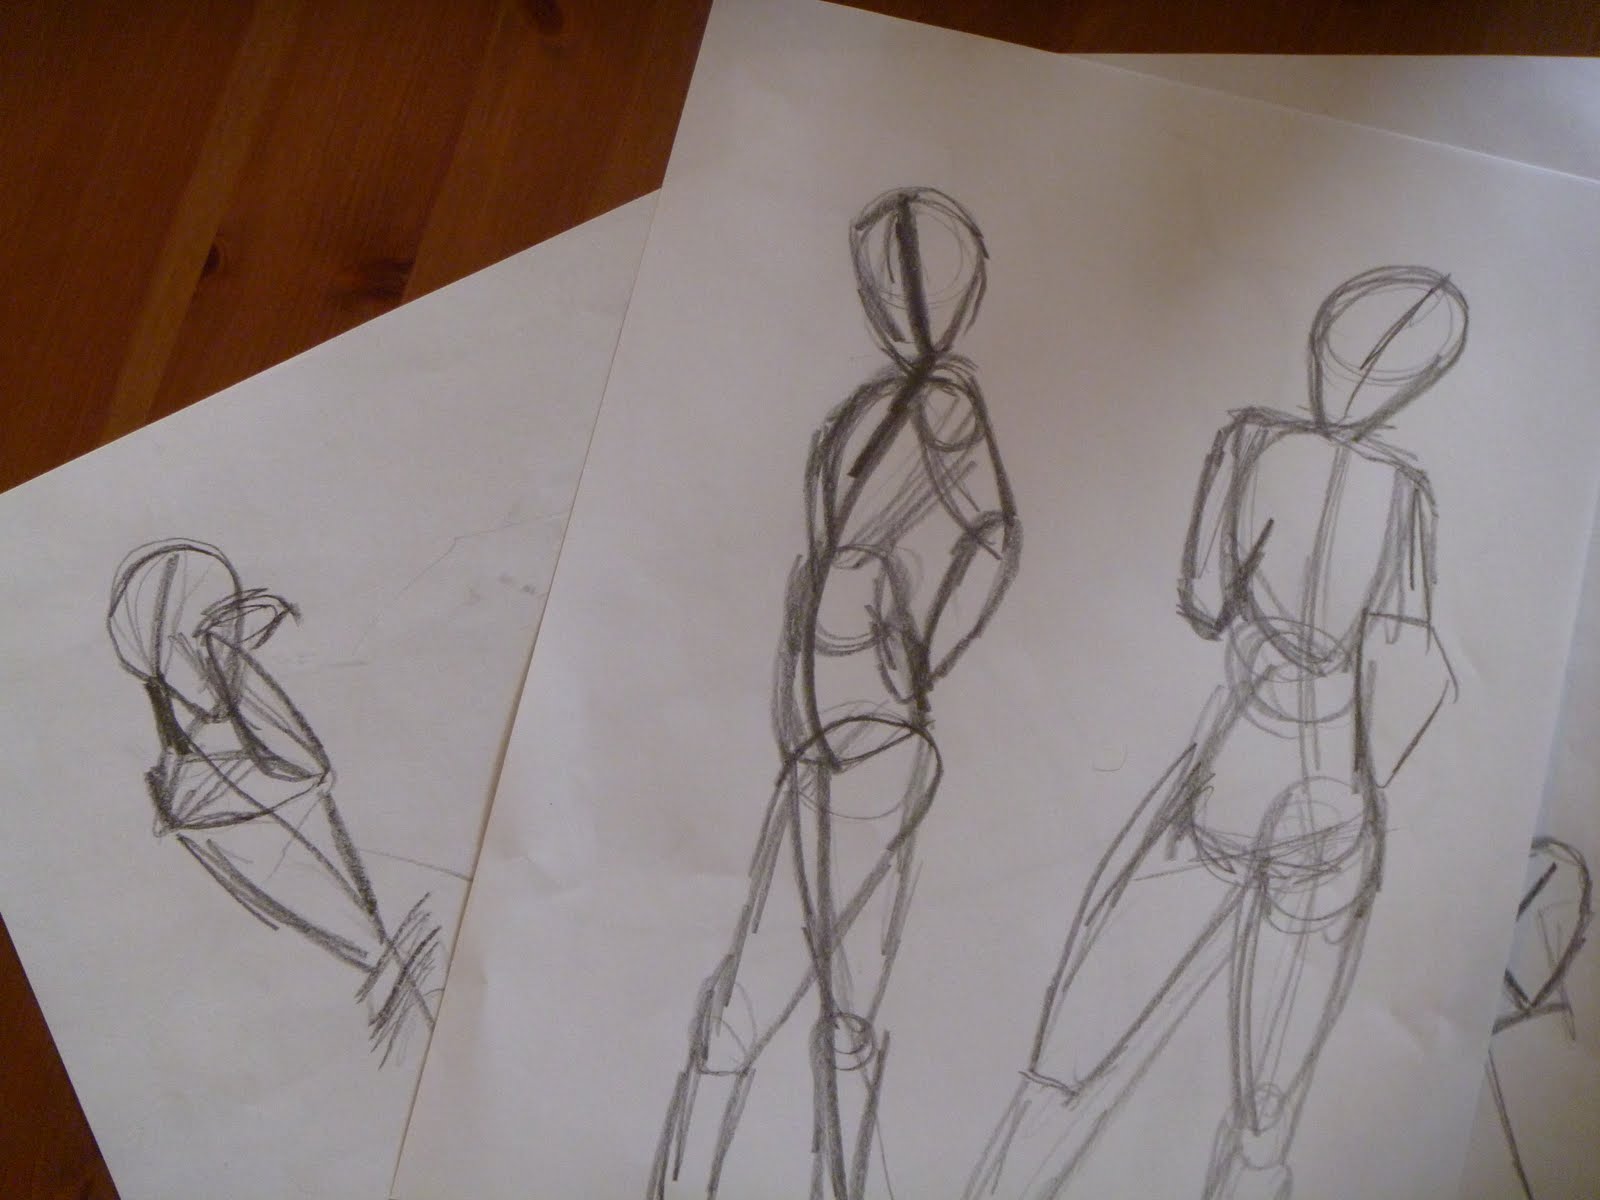
In my class that came today, I have students ages 9-12.  We have been talking about breaking figures of animals and people down into simple shapes.  Today we added to the shapes with gesture drawings.  The idea of a gesture drawing is to make a very quick impression of the figure you are drawing that captures their movement and the overall gesture their body is making.  This is most easily accomplished by drawing one smooth, continuous line that mimics the shape of their spine from the head all the way down their body, and then to the grounding foot.  So something like the figure on the left.


 Figure drawing has always been one of my favorite types of drawing.  Ah.  I love it.

Here are some drawings from the things that we did today:


Arts Express and conifer painting

This week I had a great opportunity to attend an art conference put on for elementary educators all over the state called Arts Express.   It is a conference that they put on every year with great keynote speakers and workshops all focused on using all of the arts (visual, drama, dance, music) to teach children more effectively.  This year, we had a great representation from Edgemont Elementary including 14 people! Myself, next year's art specialist 3 parents, our principle, and 8 other grade level teachers.  I think it was a really good way to get everyone connected and excited about using the arts more.

Oh, yeah, side note-- did I mention before that they were able to hire someone for next year?  I know that I posted before about how the district had decided to no longer support the grant position in the school, but they changed their mind!

Anyway, I wanted to share a little project that I completed yesterday in a wonderful workshop.  This is a little accordion-style book designed to fit into the 4th grade core of teaching about local habitats in Utah, one of which is forests. 

This is the closed book.  The woman who taught the workshop had put the books together for us ahead of time so that we would have time to paint the pages.  She used this crazy "eyelash" ribbon to tie them closed.  Not quite sure how I feel about it...

This is how the book opens "accordion" style.  there are paintings on each of the pages.  This type of book is great to make for kids because it is easy to put together and you can add info one one side of the pages like I did here, but then put more information on the other side.  If I were to teach this to students in an elementary class, we would use the other side to display our writing about our pictures.        This style of books is also really easy to display because it can stand up!


Believe it or not, 4th graders can totally do this type of paintings.  Our teacher taught us some great skills, like how to paint: realistic looking conifer trees, mountains, a sky with clouds, trees in the distance, trees with snow on them and other things.


This is definitely a lesson that I would love to teach to my students at home as well!

6.13.2011

Springville Children's Art Festival

Last weekend as part of the Art City Days of Springville, they had a children's art festival on Friday.  There were  about 25 different artists who set up booths and had short art projects for kids to do.  And one of the greatest things about it, thanks to the city of Springville, it is all FREE for the public.

I had the chance to have a booth and teach the children how to Zentangle!  Dane came and helped for a few hours and it was a good thing he did because we tangled with literally hundreds of children.
Setting up the booth


It was a pretty good project for all ages.  I had instructions taped to the tables so that the parents could guild their children along if I was busy with someone else.  Overall, I think the parents might have liked it more than the kids.  There were a few children who really got into it and hung out at my booth for a long time so that they could finish their project.  It was fun to see how careful they were with their work.  


5.10.2011

Kindergarten Farm Pigs

Remember the roosters? and the rabbits?  This is the last drawing we did from the farm:


2nd Grade Georgia O'Keefe Flowers


I wish that I could somehow put these up here life size so that you could all see how impressive they are.  They are about 12x18".  We used large brushes and liquid tempera paint to create large flowers in the style of Georgia O'Keefe, an American painter who painted large close-ups of flowers.  The trick to getting the students to draw the flowers large is to encourage them to have the petals touch the edge of the page, or even run off the pages.  The paintings started out as monochromatic paintings: each student mixed a color to paint in between the petals of their flower and then filled in the flower with white paint, using the same brush so it created a lighter version of the color in the flower.  The next day, we added details in the center of the flowers and other finishing touches.  This was one of my favorite projects so far.  Maybe it was the big brushes. 


2nd Grade Watercolor Landscapes


Here is another reason I love my second grade classes.  I only did this project with one of the 2nd grade classes.  They had had some rough days in art and lost painting privilages, so once they had earned a chance to paint again, they were on a different lesson than the other classes, so here was a 2 day catch-up project.  Some things we focused on were taping the edges with masking tape to create a nice border and painting the mountains purple to make them appear far away.

I would hang these in my home.  I think that's a good sign, eh?  Way to go guys!


6th Grade Country Reports/Art Project

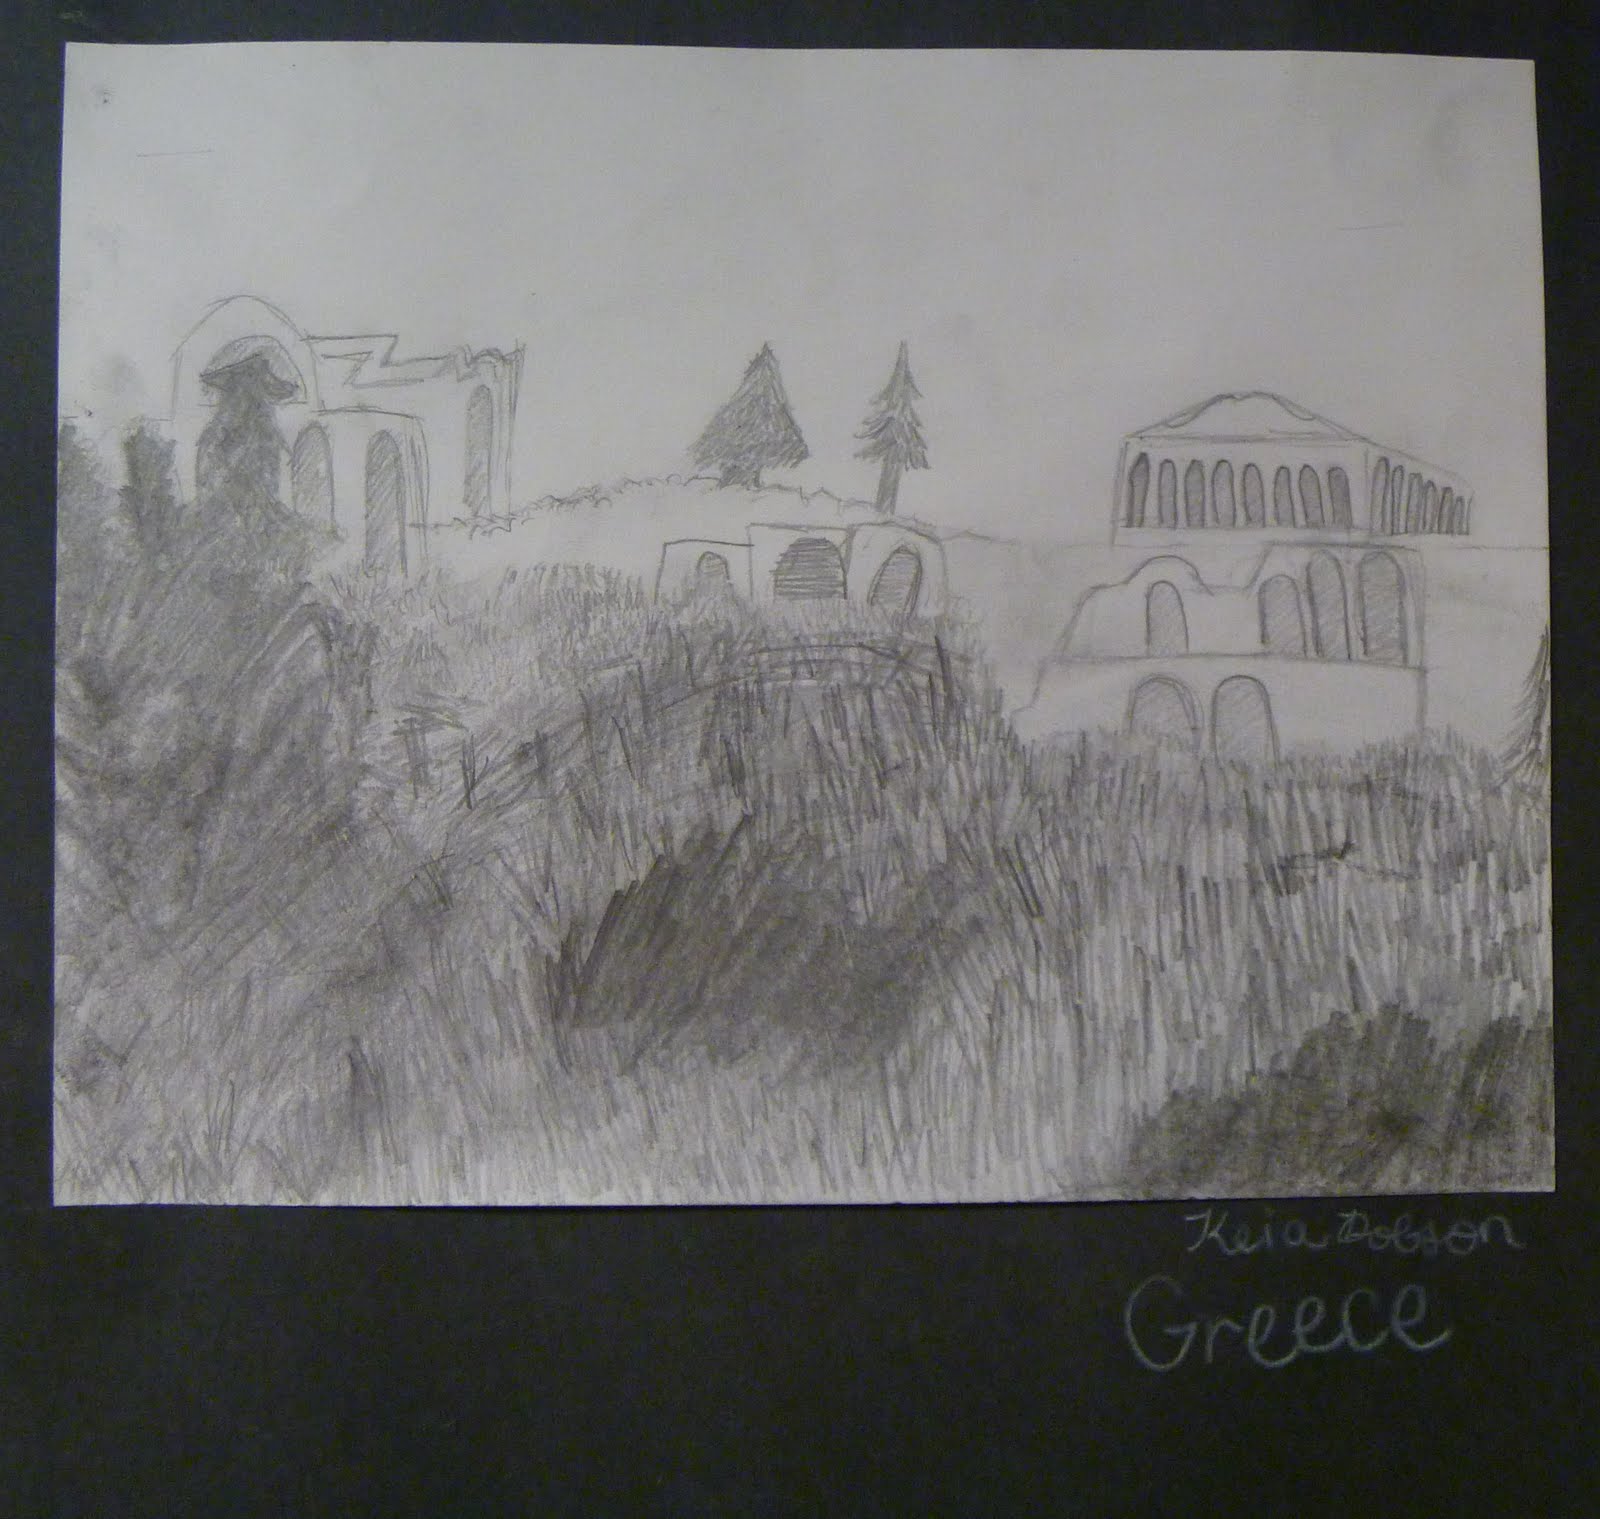
At the end of the year, the 6th graders all were assigned a country to write a report about, so we thought we would give them a chance to learn a little about the well known artwork/architecture/culture from that country.  They were allowed to chose whatever subject matter they wanted, it just needed to represent their country.  Then for the art medium, we reviewed the techniques that I had taught them throughout the year and they were allowed to chose to do one of those techniques again.  The choices were, tinfoil and sharpies, scraffito (not pictured here), colored pencil, pencil drawing, or painting.

I was pleased with some of them, and others, not so much.  Self guided work is always a little bit of a challage for students.  For once they get to make their own deisions, and it is amazing how difficult how that can be for some.  Interesting, and unfortunately we are all a little like that, I think.   Anyway, here are a few that turned out well.


3rd Grade Tessellations

 
For some wonderful reason, 3rd grade talks about tessellations in their math core, so this was a no-brainer.  After a very fun discussion where we looked at the art of M. C. Escher, we made our own tessellations using some heavy cardstock and then traced them on a large sheet of drawing paper.  Then they outlined them with sharpie and created an image out of the shape using colored pencil.

They took some time, but were well worth the work.  My favorite part of this project is to see what the students turn their pictures into.  Here are a few snap-shots of the tessellations hanging in the art show.


5th Grade Presidential Portraits


For our last project this year with 5th grade, we put everything we had learned about observational drawing, shading and facial proportions together to create what turned out to be some beautiful portraits.  I gave each student a black and white picture of a different president of the United States and did a step by step review of how to draw the proportions of a face.  Our big focus was on drawing the shapes that they saw in the lights and darks instead of lines to create the features.  Here are a few of the more recognizable presidents:


Related Posts Plugin for WordPress, Blogger...